
Update: This tutorial is way out of date. If you want to create a modern (ie. 2015) app, please use a generator like RailsBricks.
With the recent release of web-app-theme providing Rails 3.1 support, it’s time once again for me to write a tutorial on how to earn money from cheap clients who can’t afford designers.
For reference, the previous tutorial can be read here.
—
Every Rails developer knows how to create a Rails app. It’s easy as
rails new APP-NAME-HERE
But how many know how to create an app from scratch that looks good enough to sell to clients i.e. with slick design, authentication, authorization, and all that? Sure, there are tutorials out there that cover those components, but most of them cover them only in isolation from each other. A quick tutorial containing multiple components at a time would be a valuable resource to anyone planning to start a new app.
As the resident dilettante in these parts, I’ve decided to create such a tutorial based on a recent demo I made for a prospective client.
This post will discuss how to create a Rails 3.1 application that looks good enough to sell to clients (of course, YMMV) while still having components found in “professional” apps. This tutorial will cover the following:
- Andrea Franz’s web-app-theme gem – this gem generates themes for your web app (hence the name). The demo and the list of available themes can be found on this page.
- Devise – our authentication module. Authlogic‘s fine, but I find Devise’s approach less obtrusive.
- Haml – replaces Erb. Not perfect (e.g. screws up with inline a tags) but the drastic decrease in code makes passing it up difficult.
- Rspec – replaces Test::Unit. Only setup will be covered in this post, actual usage is left to the reader.
- Kaminari – gem for pagination. We’re going to use it in place of the previous gem will_paginate
Rest of the tutorial is below the cut.
Let’s start by creating our new app with no testing framework and with MySQL as the database:
$ rails new pro-template-app-31 -d mysql -T
Now would be a good time to edit the .gitignore file to exclude files you don’t want to add to Git. Rails 3 already provides some good defaults, but if you want more possible entries there are samples available over at Github.
Once done, it’s time to make the initial commit.
$ git init

$ git add .

$ git commit -am "initial commit"
Setup Gemfile
Now is time to add the needed gems to Gemfile.
source 'http://rubygems.org'

gem 'rails', '3.1.0'
gem 'mysql2'
gem 'haml'
gem 'devise'
gem 'kaminari'

group :development, :test do
  gem 'capybara'
  gem 'rspec-rails'
  gem 'haml-rails'
  gem 'hpricot'
  gem 'ruby_parser'
  gem 'web-app-theme', '~> 0.8.0'
end
I’ve already explained most of the gems above at the beginning of this post. The only thing worth noting would be the addition of hpricot and ruby_parser, both of which are needed by web-app-theme to generate haml files.
Run “bundle install” to install the gems. After the gems are installed, all of our generators will now use Rspec instead of Test::Unit, and it can now generate Haml instead of Erb.
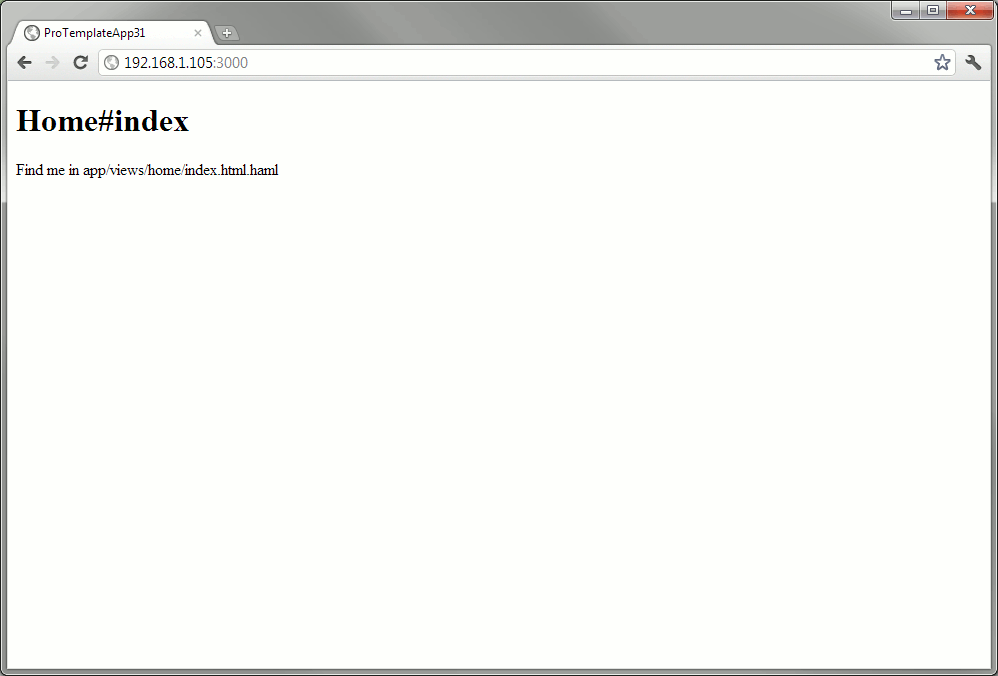
Generate home page
Let’s try out our app first by creating a new root page to replace the default.
$ rails g controller home index


$ rm public/index.html
Then edit the config/routes.rb:
ProTemplateApp31::Application.routes.draw do
  root :to => "home#index"
end
Before starting the app, don’t forget to create the database:
$ rake db:create
Start the server.
all pictures are clickable BTW
Generate theme with web-app-theme
Here comes the fun part.
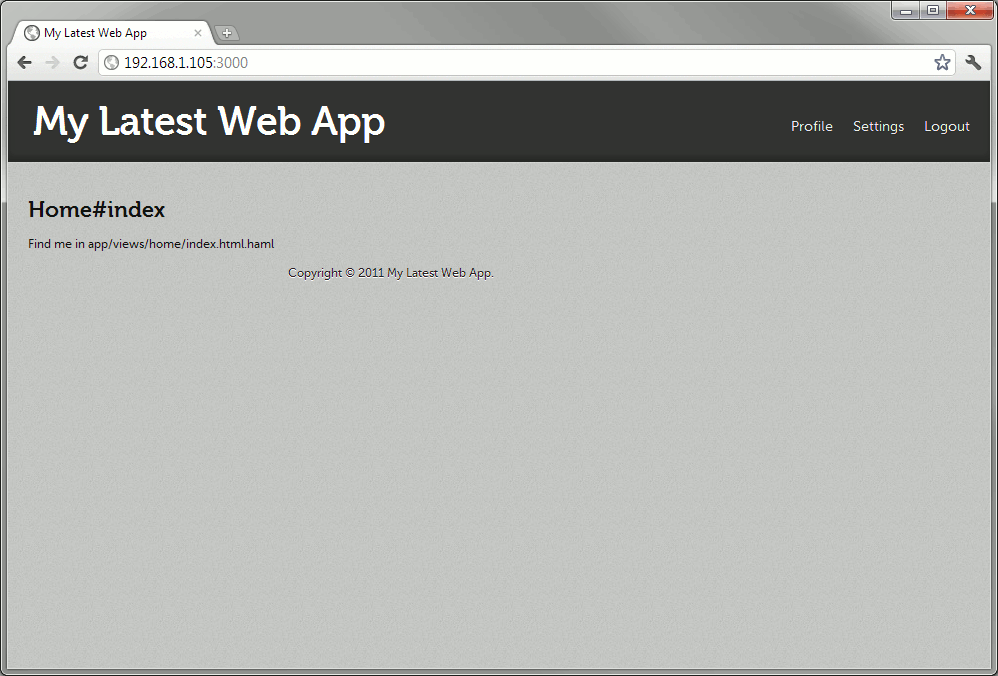
$ rails g web_app_theme:theme --engine=haml --app-name="My Latest Web App"
This will generate the layout files using the default theme in haml whose title would be “My Latest Web App”.
(In case you want to use a different theme, add --theme="THEME-NAME" to this and some of the later commands.)
Delete the default layout generated for the rails app:
$ rm app/views/layouts/application.html.erb
then refresh the page.
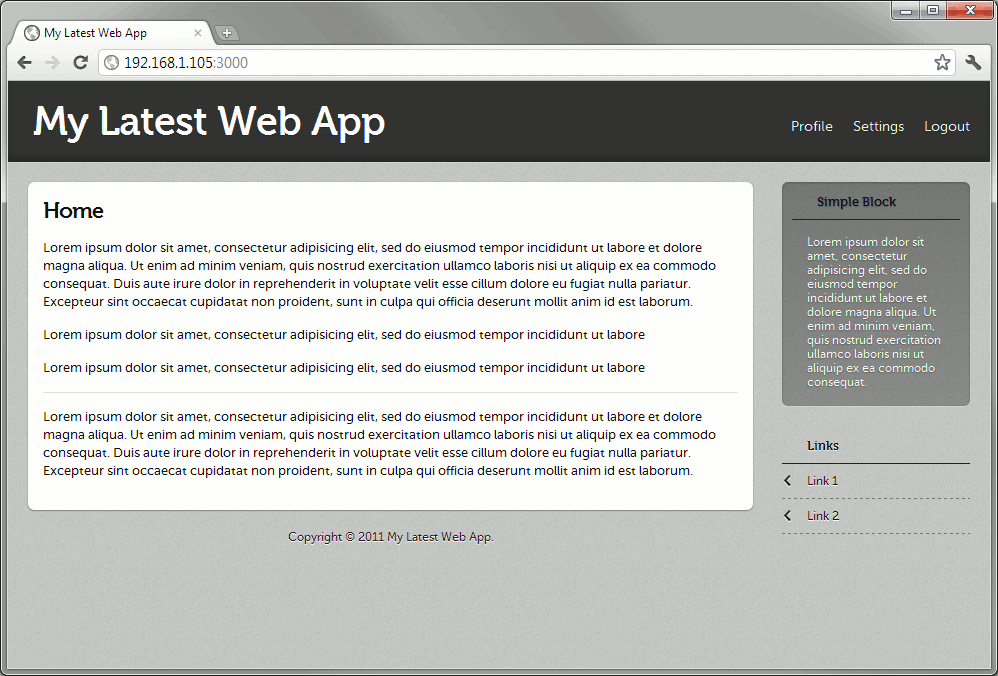
It looks good, but I think we’re better off using the sample text page from the demo site.
$ rails g web_app_theme:themed home --themed-type=text --engine=haml


$ mv app/views/home/show.html.haml app/views/home/index.html.haml
Tweaking web-app-theme v0.8.0
Before we continue, let’s first fix some problems with web-app-theme 0.8.0 when used with Rails 3.1.
First, generate a copy of the current theme to your app so that you could modify them.
$ rails g web_app_theme:assets
Now for the tweaks:
- JavaScript tag doesn’t point to the one generated by the asset pipeline. This is the reason why the sign-out links won’t work if you followed the previous tutorial. Fix here.
- The stylesheet for alert messages are still defined under “error” class. Fix here.
- For some odd reason, the images for buttons were moved to the spec folder. You can bring them back by manually copying them to your project’s web-app-theme asset folder. Here’s one way of doing it:
$ cp $(bundle show web-app-theme)/spec/dummy/public/images/* app/assets/images/web-app-theme/ -r
Add Devise authentication
Let’s install Devise and create our User model in the process.
$ rails g devise:install


$ rails g devise user
We also need to customize the login screen. To do this, we must first enable scoped views for Devise.
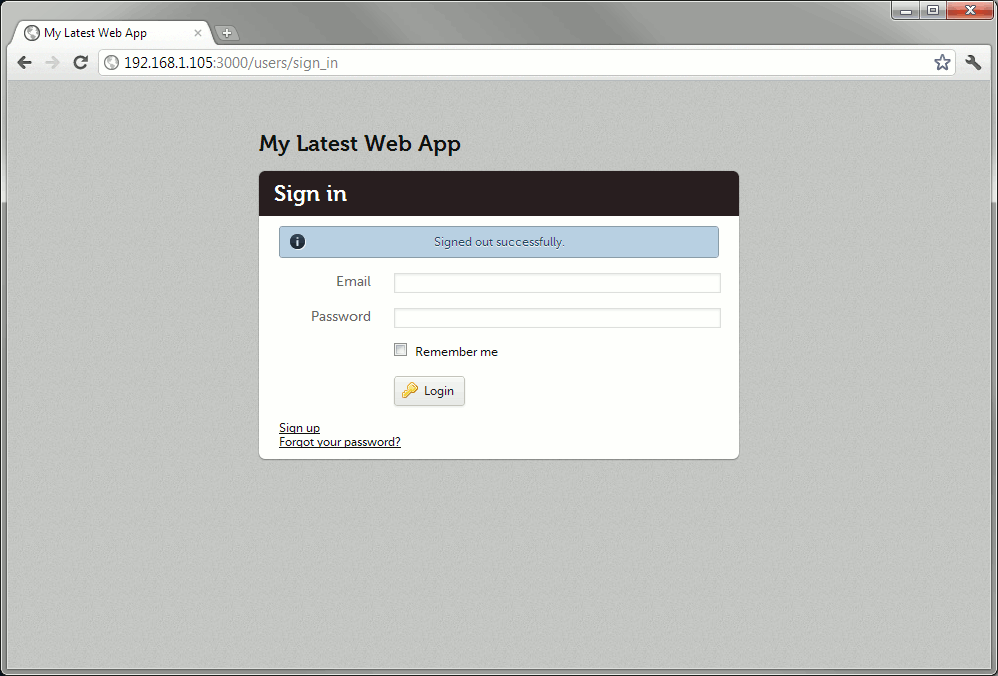
Then let’s generate the sign-in/sign-out layout:
$ rails g web_app_theme:theme sign --layout-type=sign --engine=haml --app-name="My Latest Web App"
Then let’s add the following files to the config/application.rb file to change the layout for sign-in/sign-up:
    config.to_prepare do
      Devise::SessionsController.layout "sign"
      Devise::RegistrationsController.layout "sign"
    end
At this point, you could generate the Devise views via
$ rails g devise:views
but the generated files are in ERb, not to mention that the layout for the sign-in/sign-up pages are different from what web-app-theme expects.
To save you from the hassle of copying the layout of those two pages, you could just copy-paste what I did here and here.
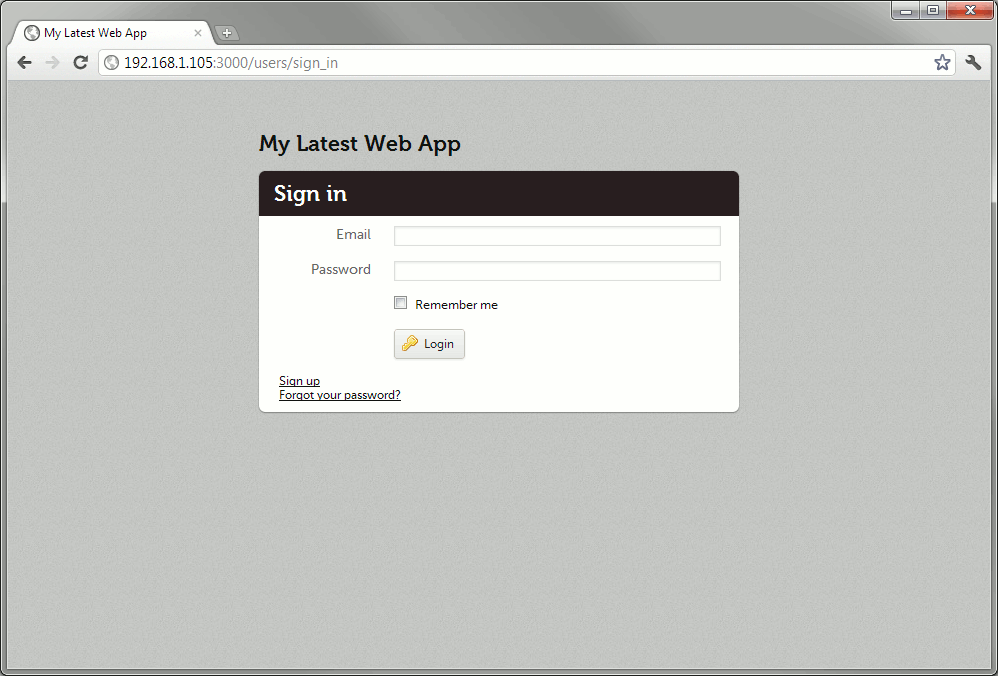
Restart the server, run rake db:migrate, and try going to the login site (/users/sign_in).
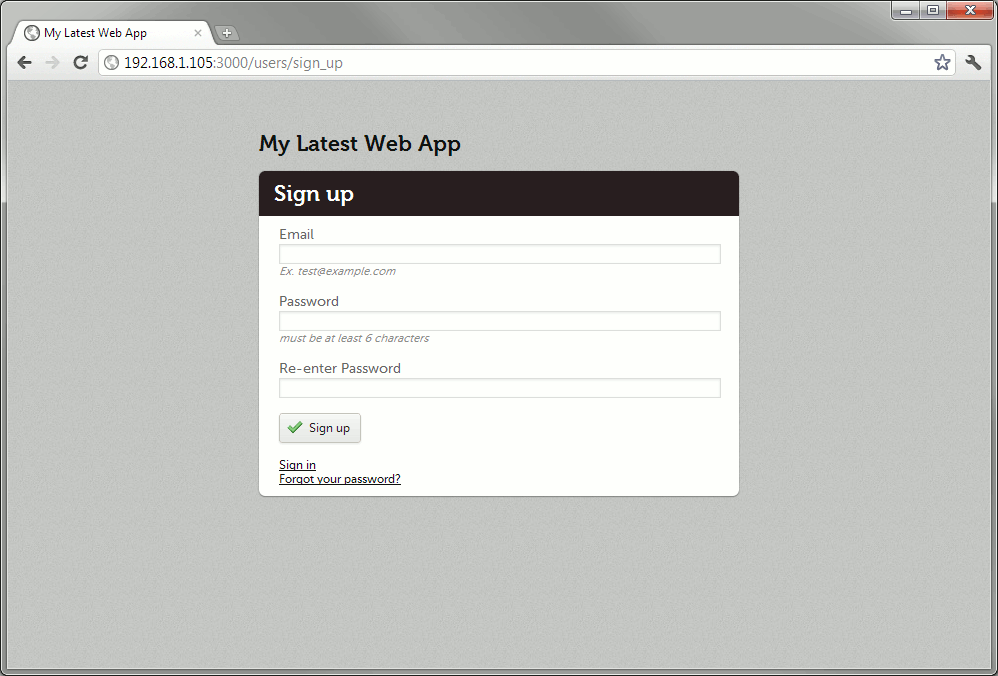
Clicking “Sign up”:
Finishing touches to Devise
Let’s do some finishing touches to the UI.
First, modify the layout such that the logout button actually works.
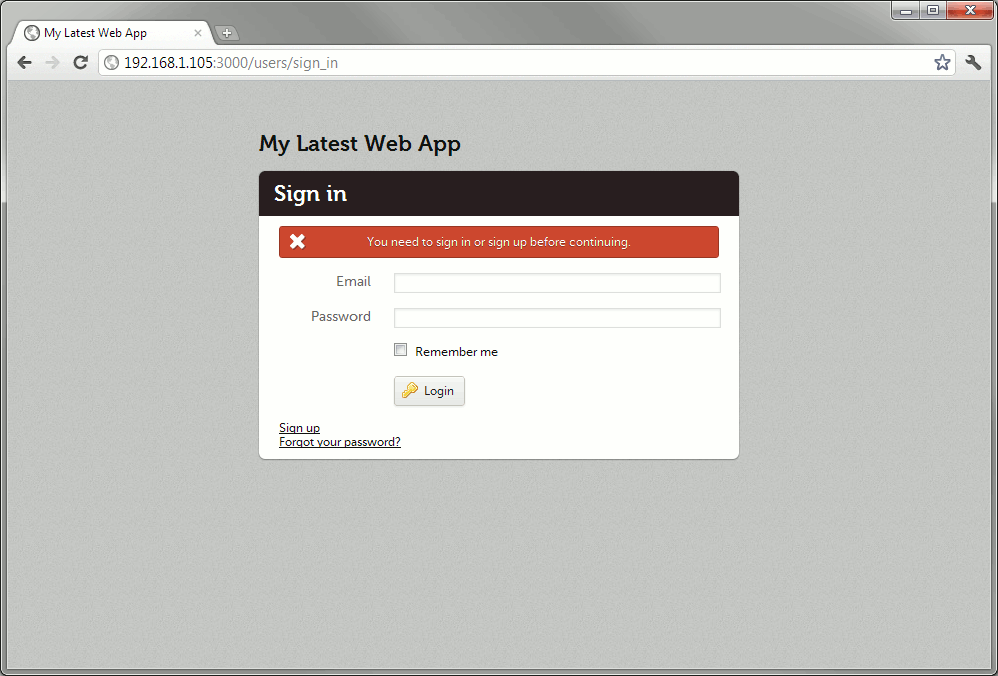
Now to test if Devise really works. Add the before_filter :authenticate_user! to home_controller.rb to kick us out to the login screen if we’re not logged in. While we’re at it, modify the said controller to set tell sign-out to redirect to the sign-in page.
Create a test user via the rails console.
$ rails c
User.create :email => "test@example.com", :password => "123456", :password_confirmation => "123456"
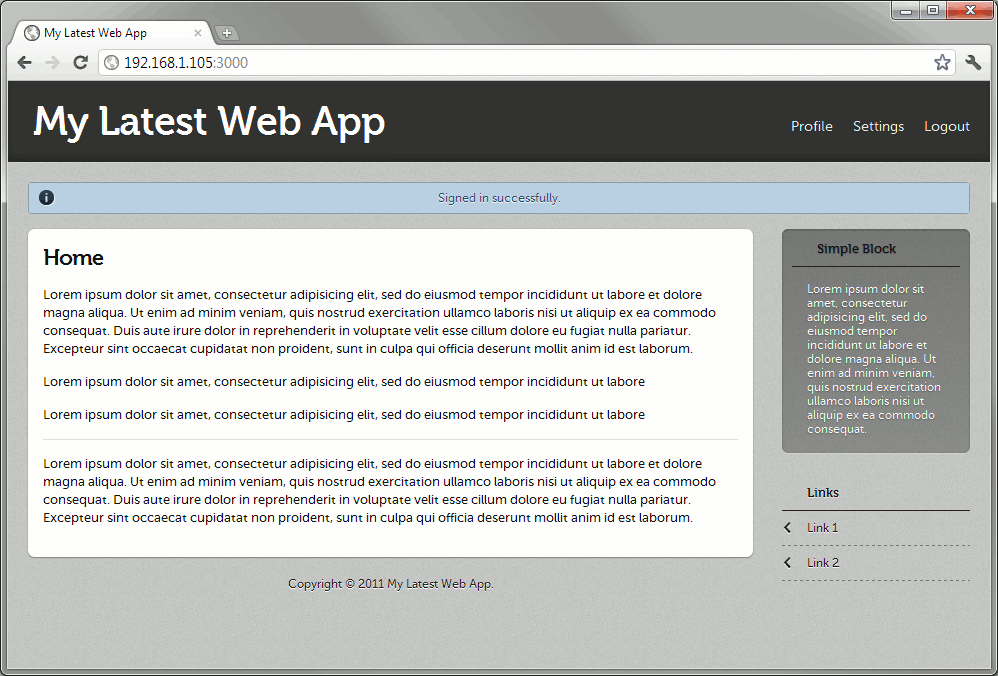
You should now be able to login and logout.
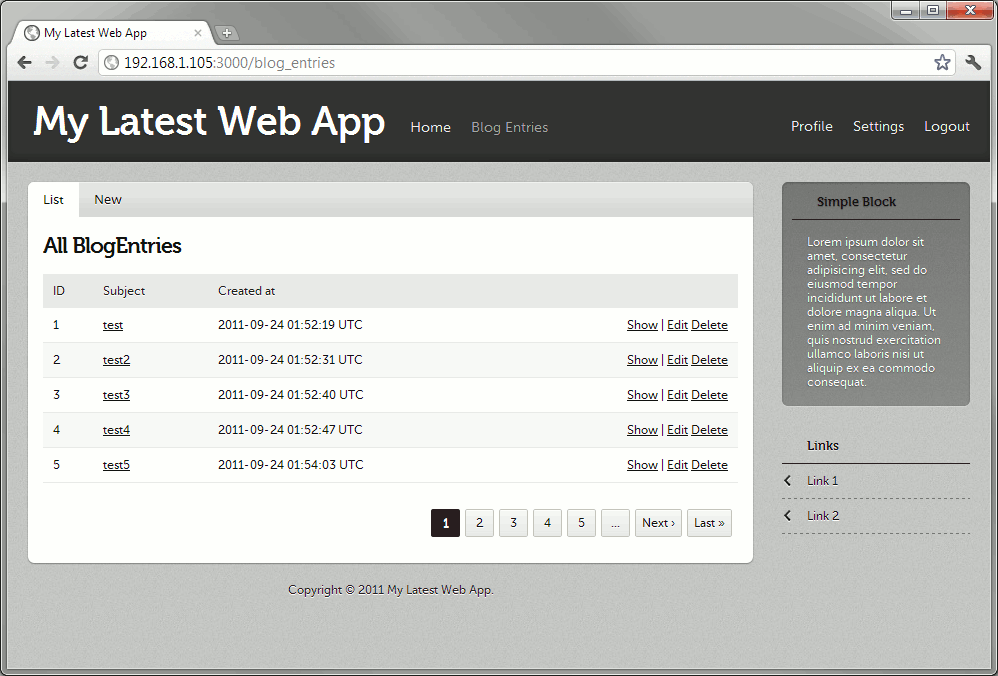
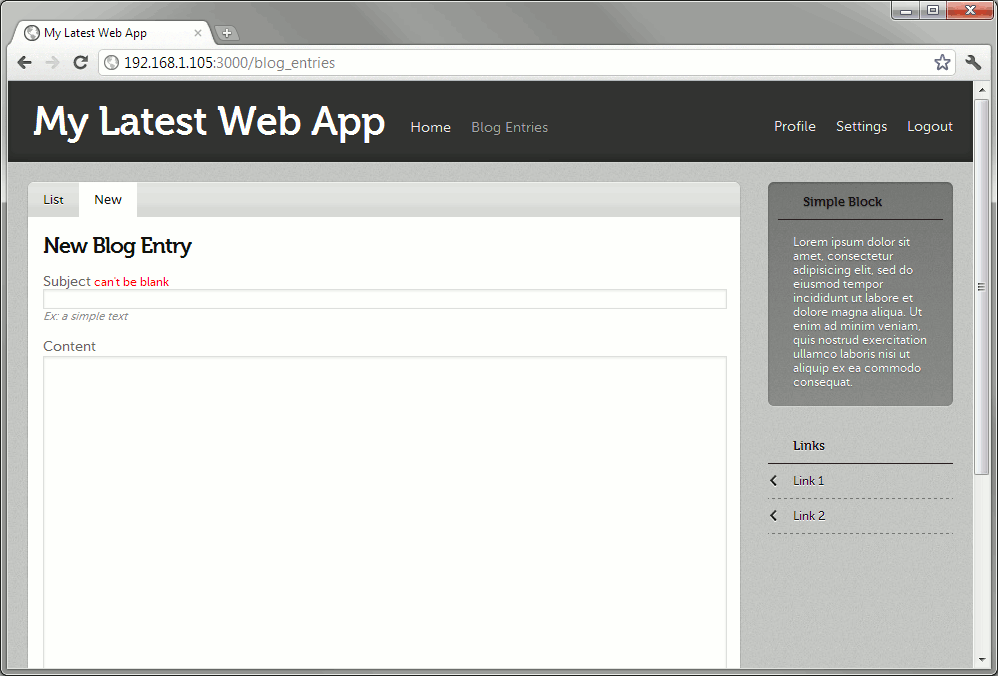
Theming a CRUD module
Now let’s show how to add the web-app-theme to a new CRUD module. To simplify things, we’ll use the ultra-stupidsimple blog demo.
$ rails g scaffold blog_entry subject:string content:text publish_at:datetime

...

$ rake db:migrate
Overwrite the generated files by running web-app-theme’s generator:
$ rails g web_app_theme:themed blog_entries --will-paginate --engine=haml
Since we’re using kaminari, we need to modify the controller and index page accordingly.
We will also have to modify the kaminari template to match the CSS. First generate the view files via
$ rails g kaminari:views default -e haml
then modify the files to match the layout with the demo page. Here’s one way of doing it.
We also need to modify the layout to take into account the new module.
After that, you can still do a couple of minor tweaks to the pages to deal with their “auto-generated” jagged edges. Then you can also apply the error message fix (don’t forget to restart the server) and test it with the screens.
And that’s it. The complete code generated above can be found at Github.
UPDATE 5/3/12: Changes to make things work in production
Looks like this thing doesn’t work in production. Please see the latest commit in Github (1, 2) for my fixes.
I’ve changed the layout stylesheets to use application instead of web_app_theme and also changed app/assets/stylesheets/web-app-theme/themes/default/style.css to an ERb file using asset_path to point to the precompiled assets.
There’s also a bug in Rails 3.1.0 which requires a change in the production settings. You can choose to either apply that fix, or simply upgrade to a more recent version of Rails 3.1.

[…] Starting a “professional” Rails app with Haml, Rspec, Devise, and Web App Theme Jan 3 Brain Dumps, Software Engineering Update: Tutorial for Rails 3.1 here! […]
Nice article. It’s a shame you have to go through so much effort to “fix” everything…would be much nicer if web-app-theme didn’t require so much handholding. Regardless, well done. Thanks!
[…] Starting a “professional” Rails 3.1 app with Web App Theme, Devise, and Kaminari (tags: ruby rails via:zite) […]
You may also be interested in building apps with ActiveAdmin (http://activeadmin.info/). It uses the same gems mentioned here minus the themes.
You can quickly build up an application that’s designed to be shippable to customers.
Great post… really enjoy it but have a problem with the web_app_theme generator =(
C:\dino\rails3\pro-template-app-31>rails g web_app_theme:theme –engine=haml –a
pp-name=”My Latest Web App”
Could not find generator web_app_theme:theme.
C:\dino\rails3\pro-template-app-31>
Double check if Bundler properly installed web-app-theme.
Also, last time I checked, web-app-theme doesn’t play well with Windows.
Works on windows, just add
gem ‘web-app-theme’ in your Gemfile
`rails generate devise:views -e haml` should work just fine.
Nope, they removed Haml support back in February.
https://github.com/plataformatec/devise/commit/3109b0924b9986e231f111f8470f936ddbcf696b#lib/generators/devise/views_generator.rb
The command will still work, but the files will be Erb.
Looks like the only good way to make it haml is use html2haml. https://github.com/plataformatec/devise/wiki/How-To:-Create-Haml-and-Slim-Views
BTW thanks for the post.
Thanks for this post. I was able to use it as a base platform for my blog. Happy new year!
To Maily’s point, it would be cool if a Rakefile did everything in this post, plus the haml conversion Ivan posted about.
[…] Part 1. To get started, I recommend http://blog.bryanbibat.net/2011/09/24/starting-a-professional-rails-3-1-app-with-web-app-theme-devis… […]
Bryan,
I am trying so hard to make this correct, but everytime I change the gemfile with the code above, my commands like rake and generate stop working, showing errors like “Wrong MySQL libraries”, even though I have installed the mysql gem with the connector version 6.0.2.
If it’s posible, could you please help me?
Thanks!
Did you install the mysql2 gem manually as described in the answer here? Did you then copy the libmysql.dll to your Ruby bin folder?
I’m doing this to a site of mine, and it runs locally but when I push to Heroku, it fails to run because it is not precompiling the file:
web_app_theme.css
This is happening even though I am running this command:
$ bundle exec rake assets:precompile
Makes me wonder if I need to migrate to the cedar stack. Does anyone else have this problem? The only other thing I can think of to try at this point is to find out if I need to move this section of my Gemfile:
group :development, :test do
gem ‘web-app-theme’, ‘~> 0.8.0’
end
to something more like this:
gem ‘web-app-theme’, ‘~> 0.8.0’, group => :assets
Other than that, this is a great post Bryan, thanks for putting it out there!
I migrated to the cedar stack and that still didn’t fix the problem. I have found that if i use this line:
= stylesheet_link_tag :application
it works (application.css file has the asset directive to “require web_app_theme”)
However, if I try to use this line:
= stylesheet_link_tag :web_app_theme
To use it directly, it doesn’t precompile. VERY ODD – there must be something I am missing or that I don’t understand. I am brand new with the asset pipeline.
I got my problem figured out. I had to add the web_app_theme.css to the assets to be precompiled:
In config/environment/production.rb I added this line:
config.assets.precompile += %w( web_app_theme.css )
That did the trick. (I didn’t want to leave people just hanging if they were having the same problem.)
Very God !
Thanks man !!!
o/ brasil
Nice blog, indeed helpful. But there are lot many issues running this project in “production” mode on local. I pulled in latest code from https://github.com/bryanbibat/pro-template-app-31
i.e. after doing “RAILS_ENV=production bundle exec rake assets:precompile” we have far many issues running this app after the assets are compiled and generated in public/assets folder.
Issue# 1) After asset compilation, if you try run the app using “rails s -e production”, you’ll face error as ActionView::Template::Error (web_app_theme.css isn’t precompiled).
This can be fixed by adding following line in your production.rb file. Same has been mentioned by Brian above.
config.assets.precompile += %w( web_app_theme.css )
Issue# 2) After rebuilding / recompiling assets again post adding above mentioned line in production.rb, the next error you’ll face is
Started GET “/assets/fonts/museo700-regular-webfont.woff” for 127.0.0.1 at 2012-03-04 20:02:42 +0530
Served asset /fonts/museo700-regular-webfont.woff – 404 Not Found (2ms)
ActionController::RoutingError (No route matches [GET] “/assets/fonts/museo700-regular-webfont.woff”):
Its unable to locate the compiled fonts folder which is indeed present in /public/assets/web-app-theme/themes/default/fonts.
Now I am stuck at this issue of font paths due to which the app doest show correct fonts in production mode and thus it takes a lot of time to render it every-time on each event. Any help on this would be highly appreciated. One thing that I tried is to manually copy the fonts folder in assets path where the app is searching it in prod mode but thats an awful thing to do and doesn’t work correctly.
Please check the latest version of the template at https://github.com/bryanbibat/pro-template-app-31
I’ve changed the layout stylesheets to use
applicationinstead ofweb_app_themeand also changedapp/assets/stylesheets/web-app-theme/themes/default/style.cssto an ERb file usingasset_pathto point to the precompiled assets.I’ve verified this to work in both dev and prod environments.
Thanks Bryan. I just pulled your code and started rebuilding assets. Now I face following errors while compiling assets.
sh-3.2# RAILS_ENV=production bundle exec rake assets:precompile
rake aborted!
web-app-theme/themes/default/fonts/museosans_500-webfont.eot isn’t precompiled
(in /Users/rohandaxini/RubyProjects/tmp/pro-template-app-31/app/assets/stylesheets/web-app-theme/themes/default/style.css.erb)
Tasks: TOP => assets:precompile
(See full trace by running task with –trace)
sh-3.2#
Also, any specific reason for making style.css as erb instead of making it SCSS ? I saw your code and yeah you now have ruby code for asset_path, but wont SCSS work here? sorry if I am wrong but just wanted to move to higher format of SASS and HAML rather than falling back to erb.
You could use SCSS there as per 2.2.2 CSS and Sass. I chose “2.2.1 CSS and ERB” simply because it’s the first one in the tutorial.
Also, I tried using rails ‘3.1.1’ in my gemfile instead of ‘3.1.0’ that you have listed. That fixed the issue of asset compilation. But still the app doesn’t work in production mode. Assets are still missing and now it throws new errors as
Started GET “/assets/application-47c9c5aa6d3338a9328c2c61a2d4becd.css” for 127.0.0.1 at 2012-03-04 22:48:25 +0530
ActionController::RoutingError (No route matches [GET] “/assets/application-47c9c5aa6d3338a9328c2c61a2d4becd.css”):
Okay so I made it all working by replicating your changes in my other app. Switched back to 3.1.0. Used your 4 modifications as per latest github commit. And now all works fine in my other app. But still struggling to make it all run in prod mode for the code present at – https://github.com/bryanbibat/pro-template-app-31
Looks like I am making some mistakes. I didn’t made any changes to your code and cloned a fresh repo. I am using 1.9.2. with rails 3.1.0. Also tried with 3.1.1. Not sure if anyone else if facing same issues.
But thanks for your help Bryan and thanks for making changes to your code to help it run in prod mode. The modifications you made indeed were required and it helped me too for other app. Thanks again.
Hey Bryan! Great walkthrough here. I’m stuck on one part though. I’ve changed the sign-in/sign-up layouts successfully, initialized the Devise stuff and created a test user in the database. But for some reason, I am only able to log in. If I try to log out I get
Routing Error: No route matches [GET] “/users/sign_out”
Any idea what I’m missing?
Thanks,
Tyler
You missed the “:method => :delete” in the “link_to t(“web-app-theme.logout”, :default => “Logout”), destroy_user_session_path, :method => :delete”
I already have it in there.
the exact line I have was copied from your link:
= link_to t(“web-app-theme.logout”, :default => “Logout”), destroy_user_session_path, :method => :delete
Any other ideas? Sorry. I’m very new to Rails. I’ve been going through tutorials all week and I am still stuck on this Routing error.
Verify if HTML code for the link is:
<a href="/users/sign_out" data-method="delete" rel="nofollow">Logout</a>Without the data-method=”delete”, clicking the link would send a GET request instead of a DELETE. Another possible cause is that JavaScript is disabled.
The markup was there correctly. The problem was I had deleted the require jquery lines in assets/javascripts/application.js because I was getting a “jquery not found” error at first.
It seems that for rails 3.1.0 you need to include the gem ‘jquery-rails’ in the Gemfile
Your suggestion about Javascript made me realize this was the problem. Thanks so much.
I am new to rail and found this excellent tutorial to fast track my learning. However, I am running into some issues when I run bundle install, and will appreciate any help you can give. Here is the error I see after running Bundleinstall –
Fetching gem metadata from https://rubygems.org/…….
Bundler could not find compatible versions for gem “railties”:
In snapshot (Gemfile.lock):
railties (3.2.6)
In Gemfile:
web-app-theme (~> 0.8.0) x86-mingw32 depends on
railties (= 3.1.0) x86-mingw32
Running `bundle update` will rebuild your snapshot from scratch, using only
the gems in your Gemfile, which may resolve the conflict.
Bundler could not find compatible versions for gem “rails”:
In Gemfile:
rails (~> 3.1.0) x86-mingw32
web-app-theme (~> 0.8.0) x86-mingw32 depends on
rails (3.1.0.rc6)
I have tried changing the Gemfile to pont to git and also by changing hte default version [#gem ‘rails’, ‘3.2.6’
to gem ‘rails’, ‘~> 3.1.0’]
Thanks in advance for your guidance.
How do I enter a captcha? I’m not able to validate it using the gem simple_captcha, someone could say one way, since using the theme of the web app example not own any content on the home controller.
Great post!!!
Is there a version of this post for rails 4? It will be great!!
Thanks so much.
This looks great! I too am just wondering if I’ll be able to follow along with most of this on Rails 4?