In this series of posts, I’ll be discussing the different Filipino dishes that I’ve been cooking and experimenting on for quite some time now.
« You can find out more in the introductory post.
Past dishes:
« Dish #1: Giniling
« Dish #2: Bistek
Just two quick notes for all recipes:
- Most of them, when paired with rice, will serve 3-5 people.
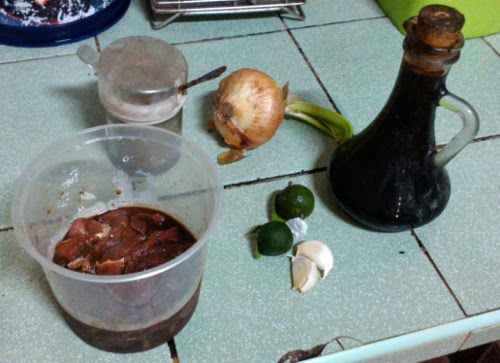
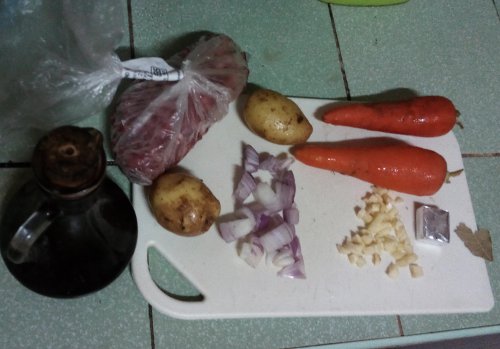
- I will only show pictures of the ingredients. I’m leaving the “take a picture of the dish” to the foodies. Go to Google Image Search if you want pictures of the dishes.
—
I hate Tinola. I hate HATE Tinola. I’ve gone through college and years of work and I’ve never ever ordered Tinola at the turo-turo and cafeteria. I’ve always wondered why people like this dish of tasteless rubber chicken and even more tasteless soup.
Then, just like Giniling, I was asked to cook Tinola for the household.
And so I went around the internet, looking for recipes and stories about cooking Tinola.
And that night I had the best Tinola in my life.
It was then that I figured out the problem with Tinola: Bistek has one subtlety (cooking time) that can make or break the dish; Tinola has a lot more than that. It was easy to see why a lot of Tinola sucked after I learned those subtleties.
—
Tinolang Manok
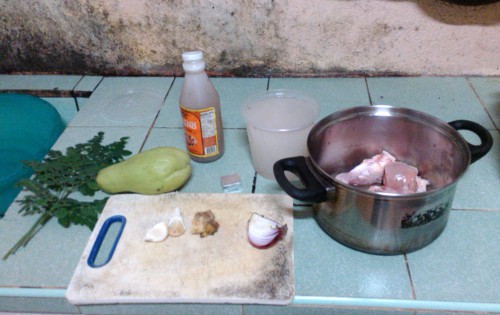
1/2 chicken, quartered (1/4 – 1/3kg)
1 thumb ginger, chopped
1 small onion, minced
2 cloves garlic, minced
1 medium chayote, chopped into blocks
2 branches malunggay leaves
1 chicken bouillon cube
rice water from the first wash
patis (fish sauce)
Step 1: Put the chicken pieces in a pot skin side down and simmer in low heat to render the fat. You can add a bit of water to help the rendering process and prevent the meat from burning.
Step 2: After around 10 minutes, enough fat should have been rendered from the skin to allow stir-frying of the meat. Add a bit of cooking oil if there isn’t.
Add the ginger, onion, garlic, and 1-2 tbsp of patis and stir fry at medium-high heat until the chicken starts to brown.
Step 3: Add the bouillon cube and enough rice water to fully immerse the chicken and enough extra for the vegetables (ie. extra ~1cm margin). Cover and simmer at low heat for 20 minutes.
Step 4: Add the chayote blocks. Cover and simmer at low heat for another 20 minutes, stirring occasionally.
Step 5: Add the malunggay and cook for another 2 minutes (just to blanch the leaves) and serve.
—
Before I discuss the subtleties, I’d like to point out this one of those recipes where full mise en place is sub-optimal. There is enough time between steps to prepare all of the ingredients:
- Peeling and mincing garlic, onion, and ginger can be done while waiting for the fat to render.
- Peeling and chopping chayote can be done while the stew is simmering.
- Stripping/plucking malunggay leaves from its stalks takes a crapload of time. Start doing it before you add the chayote or you might end up with overcooked chayote by the time you’re done.
—
Subtlety 1: sangkutsa
You know why you’re getting tasteless “rubber” chickens in your tinola? It’s probably because the recipe you’re using only told you to put all the ingredients in a pot and simmer for 30 mins.
This doesn’t add flavor or even texture to your chicken. Heck, you might be better off microwaving it.
The solution: sangkutsa. The word can mean “marinate”, but here we use its other meaning: stir-frying in rendered fat.
Done right, sangkutsa essentially turns our rubber chickens into skinless fried chickens. The texture is better, and the slightly browned meat has better flavor thanks to our old friend Maillard reaction. Even the browned residue will be useful later: apart from flavor, it also gives the stew its brown tint as the pot is deglazed in the long simmering period.
Subtlety 2: native chicken vs broiler chickens
Another theory why we tend to get tasteless Tinola is because the chickens themselves are tasteless. Tinola predates the modern broiler chicken and it’s safe to assume that most recipes were meant for “native” chickens. Compared to native chickens, broilers have less skin-to-meat ratio and in turn will have less fat and flavor per weight.
There are a couple of ways to get around this:
- Bouillon cubes – as I mentioned before, chicken stock is rare locally so we’ll have to settle with bouillon cubes or other similar seasonings (e.g. “Magic Sarap”, MSG) to enhance the existing patis/ginger/garlic/stock flavor.
- Chicken necks – they don’t have a lot of meat so people avoid them, but you’ll get extra skin and the bones give you extra flavor as stock if you use them here.
Subtlety 3: cooking time
Like Bistek, simmering Tinola for a long time improves the quality of the dish. This is normal for most types of chicken soup – long cooking time allows the connective tissue to break down and add flavor to the stock.
Even though Wikipedia notes that chicken soups take 1-3 hours to cook, 45 minutes works well for me. I’m pretty sure it’s because of the pre-cooking in sangkutsa, though if I had to cook native chicken I’ll probably extend the simmering time by 15-30 mins to get more flavor out of the well-used connective tissue.
Subltety 4+: more flavors
Apart from stock and chicken fat itself, there are still other subtleties in the flavor area.
First and foremost is the ginger. It was only when I looked for recipes that I found out that ginger is one of the key ingredients – and yet all of the Tinola I had before never even had a hint of ginger in them.
I’m not saying you should overdo the ginger and make your soup taste like salabat, but you should at least use enough to make the person eating taste and feel some of the heat from the ginger. If you can’t decide how much ginger to use, just remember that Tinola is a cold-weather dish.
Speaking of heat, most recipes call for dahon ng sili (chili leaves) to give more depth to the hot ginger stew and I would suggest beginners to use that instead of harder to prepare malunggay. I prefer the latter mainly because I can get fresh leaves from the virtually unkillable zero-maintenance malunggay trees our backyard.
On to the other vegetable aspect, most recipes also call for unripe papaya instead of chayote. They become the same texture in the end, but I personally don’t like unripe papaya in my tinola. I have a sweet tooth so I prefer chayote’s slightly sweet undertones over papaya’s bitter aftertaste. People who grew up on bitter dishes (e.g. Ilocanos with their Pakbet and Papaitan) usually prefer the former, though.
The last thing I’m going to touch is the rice water. Due to the other factors affecting the taste of the stew, I honestly can’t tell the difference between Tinola made with plain water and one made with rice water. Theoretically the rice starch should thicken the broth but I really don’t have the patience to make 2 batches at the same time and compare both. However, since I’m typically the guy washing and cooking the rice before cooking the ulam, saving the rice washings for Tinola couldn’t hurt.
—
As a side note, I never thought I’d write a 1000+ word essay on a dish I hated until last year.
—
(next recipe will be a bonus dish)