Here’s the next part of my basic web server administration tutorial.
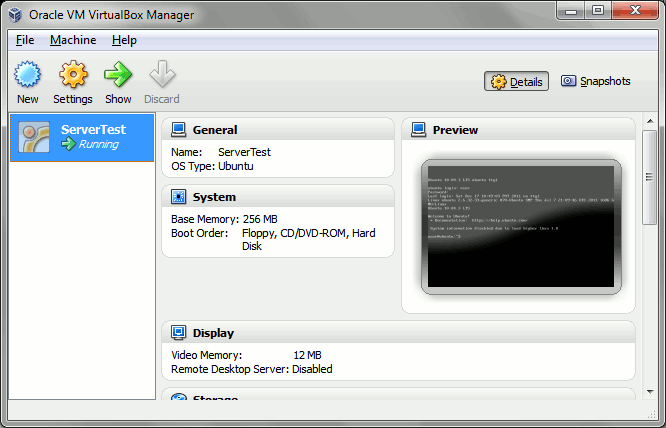
At the first part, we set up the virtual machine. Now we’ll be setting up the web server itself.
Set Static IP Address and fake Domain Name
Before we could proceed with installing our web server, let’s do a couple of things to make our server behave more like a “normal” server.
First is to set our server’s IP address to a static IP address. There are a bunch of ways to do this (e.g. change the router settings), but we’ll just go with changing our server’s settings
Running ifconfig and route will give us the current IP address and gateway.
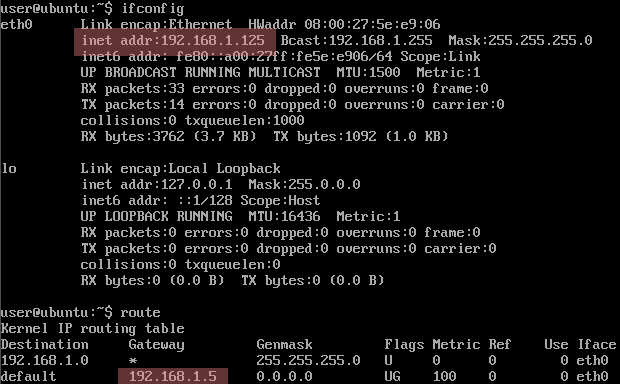
In this case, the new IP address is 192.168.1.125 and the gateway is 192.168.1.5. We can now apply these settings to /etc/network/interfaces. Open the said file via:
$ sudo vim /etc/network/interfaces
(For this tutorial, I’ll be using vim as the default text editor. If you find vim too daunting, you can replace all instances of vim with nano)
It will look something like:
# This file describes the network interfaces available on your system
# and how to activate them. For more information, see interfaces(5).

# The loopback network interface
auto lo
iface lo inet loopback

# The primary network interface
auto eth0
iface eth0 inet dhcp
Now replace the last line with the following:
iface eth0 inet static
address [address here]
netmask 255.255.255.0
gateway [gateway here]
for example:
iface eth0 inet static
address 192.168.1.125
netmask 255.255.255.0
gateway 192.168.1.5
To make sure you got the static IP settings correctly, you can restart the server via
$ sudo shutdown -r now
or you could just simply restart the network interface:
$ sudo /etc/init.d/networking restart
Here we see the /etc/init.d folder where the init scripts (like networking) are placed. Aside from being executed automatically upon boot to start services, they can also be used to stop or restart the said services just like what we just did with networking. We will see more of /etc/init.d/ later in this tutorial.
Now that we’ve set the IP address as static, it’s time to set a fake domain name.
Normally, when you’ve got a server with a static IP address, you’d have to go and buy a domain name from a registrar like Namecheap and you’d go through the steps in linking that name with the IP address and waiting for the DNS propagation.
For this tutorial, we’re going to skip all that by faking it with the hosts file.
First let’s update the server’s /etc/hosts file to add our fake domain name “mysite.dev”:
sudo vim /etc/hosts
Add the line at the end:
192.168.1.125 mysite.dev
You can verify the new setting by using the ping command.
user@ubuntu:~$ ping -c 4 mysite.dev
PING mysite.dev (192.168.1.125) 56(84) bytes of data.
64 bytes from mysite.dev (192.168.1.125): icmp_seq=1 ttl=64 time=0.172 ms
64 bytes from mysite.dev (192.168.1.125): icmp_seq=2 ttl=64 time=2.38 ms
64 bytes from mysite.dev (192.168.1.125): icmp_seq=3 ttl=64 time=3.34 ms
64 bytes from mysite.dev (192.168.1.125): icmp_seq=4 ttl=64 time=1.59 ms

--- mysite.dev ping statistics ---
4 packets transmitted, 4 received, 0% packet loss, time 3016ms
rtt min/avg/max/mdev = 0.172/1.874/3.342/1.161 ms
user@ubuntu:~$
Now let’s apply the fake domain name mapping to the host Windows computer. Like in Linux, the hosts file in Windows requires admin privileges so we first need to run the text editor as Administrator in order to allow us to modify it.

Right-click Notepad and select “Run as administrator”. Once open, you can now add the “192.168.1.125 mysite.dev” to the end of the C:\Windows\System32\drivers\etc\hosts file.
Now you could change the PuTTy settings to use “mysite.dev” instead of the actual IP address.
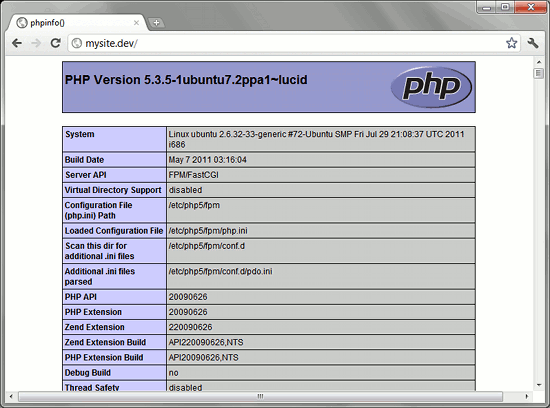
The actual installation of the web server below the cut.
Continue reading “Learn how to setup a web server pt2: Installing Nginx and PHP”